What is a Makerspace?
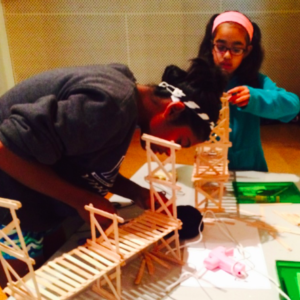
A makerspace is not solely a lab, a craft area, a STEM center, a tech room, or an art station, but it can have components of some or all these places. Makerspaces provide hands-on, creative ways to encourage students to design, experiment, build and invent as they deeply engage in science, engineering and tinkering. They provide a space and time for students to build, explore, fail and retry, and share their ideas with others. The space can be a large elaborate area with 3-D printers, all kinds of technology and interesting tools or as simple as a cart or bins with recycled materials. Although they can go by many names such as Tinker Lab, Discovery Zone, Creation Station, or Exploration Center, the goal is the same – a location for students to create and investigate.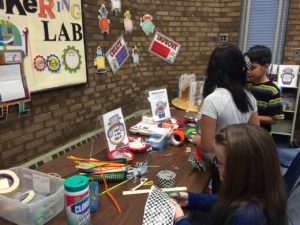
How do you begin a makerspace?
Beginning a makerspace doesn’t mean that you need to run out and max out your or the school’s credit card buying tons of materials. To begin with, stock the space with items that are typically found around the house or school – small and larger boxes, paper towel and toilet paper tubes, egg cartons, masking and duct tape, as well as liquid and stick glue. Ask for donations from parents for other items such as wire, yarn, toothpicks, cups, recycled plastic containers. Tools needed might include screw drivers (flat head and Philips head), pliers, and scissors. You may need to purchase items such as feathers, pipe cleaners, brads, and craft sticks, but don’t hesitate to add those items to a donation request from businesses or parents. If possible, try to include old toys or small electronics to be taken apart to discover how things work. Broken toys can also be supplied for students to repair, furthering their knowledge of how things work. To help control the consumption of supplies, we strongly suggest that students first create a detailed plan for their project. By having a detailed, labeled drawing and a list of projected materials provided to the teacher, wasted materials are reduced. It also makes sure that the student has carefully thought out, researched and planned their project. Yes, thinking can be untidy, tinkering can generate clutter, and testing ideas can create a muddle. You do not want your makerspace to just become a “Let’s Make A Mess and Walk Away” Center. Planning ahead on your part and their part will alleviate headaches later. Our introductory packet for a STEM classroom includes pages for designing and planning a project.
Ready Set STEM: An Introductory Packet to Start a STEM Classroom
To provide a focus for our students, we provide task cards that we call “STEM Sparks” in our maker spaces. So far we have written five different sets of cards that provide challenges . You can download a freebie sample at: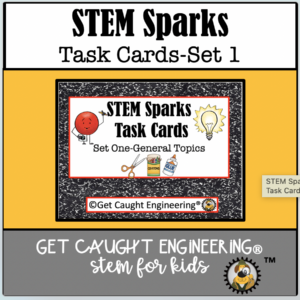
STEM Sparks: Maker Space Task Cards
Ready to Give a Makerspace a Try?
Tips for a Classroom Makerspace
- Select an area for your classroom makerspace. You want room for 3-4 students to work with a display area for project ideas and a sturdy table.
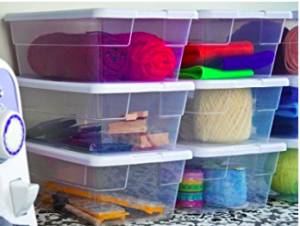 2.Gather storage containers. We love to shop at hardware stores for ideas. Did you know you can buy empty paint cans? Those are marvelous for storing various tools. Also check out the dollar stores for assorted bins and baskets that are reasonably priced. We also found these great plastic shoe bins that are perfect for organizing materials. Sterilite 16428012 6 Quart/5.7 Liter Storage Box, White Lid with Clear Base (Pack of 12)
- Think carefully where you will store extra supplies for your maker space. There is nothing quite as exciting as receiving at 8:00 AM five huge trash bags of recycled items and having nowhere to put them except behind, in front and on top of your desk! And that reminds us…become VERY good friends with all of the custodians. They are the experts at helping you find locations to store extra items, as well as making sure that your “ treasures that look like trash” don’t get tossed out.
- Send out a donation letter for items you would like. Letters can not only go to parents and grandparents, but stores and associations, and agencies. Really search your community for possible connections. We developed no fear in approaching anyone and everyone for items. (Did we mention the 1000 ping pong balls, wooden spools and paint stirrers that a group donated and DELIVERED to us? Five years later we are still making catapults with that amazing donation) We include a donation letter in our STEM Essentials FREEBIE :
- Put donations away as soon as they come in. No excuses. Really. Trust us. We know. Two words. “Organized Chaos!!”
- Create a poster with rules for your center. Keep it simple.We suggest: Plan;Persevere;Put Away
- Create an “open” and “closed” sign as well as a sign up sheet for the makerspace.
- Hang an inventory list nearby so that the students can indicate when certain consumables are beginning to run low.
- If possible, solicit adult volunteers to be the docents for the makerspace. This will make your life easier, but is not necessary for a successful maker space.
- Make a wish list for big items such as a 3-D printer or Makey-Makey kit and keep your eye out for small grants that can help you obtain those items. Have a “nothing ventured, nothing gained” attitude and don’t be afraid to give grants a try for things you would like to add. We regularly post small grants that are easy to write on our Get Caught Engineering Facebook and Instagram pages:GetCaught Engineering Facebook
Need Inspiration and Support for Your Makerspace Plans?
The Maker Movement has inspired lots of reference books to help justify the concept, design a space and plan activities. Our four favorites include: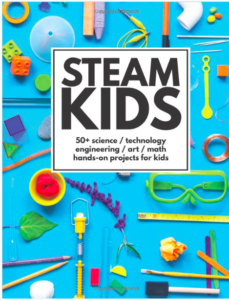
STEAM Kids: 50+ Science / Technology / Engineering / Art / Math Hands-On Projects for Kids
A great resource book filled with step-by-step activities that are helpfully coded with difficulty indicators and estimated project times. Project extensions promote further exploration and learning for students.
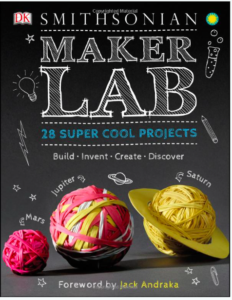
Maker Lab: 28 Super Cool Projects: Build * Invent * Create * Discover
The Maker Lab is filled with engaging projects that will capture the attention and curiosity of students. The activities are very interesting and include the connections to the real world.
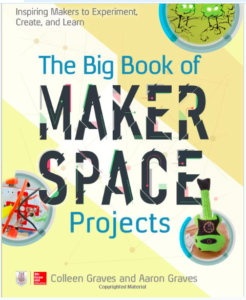
The Big Book of Makerspace Projects: Inspiring Makers to Experiment, Create, and Learn
A fantastic book filled with great projects and practical tips for beginners and open-ended challenges for advanced makers. Each project features non-technical, step-by-step instructions .
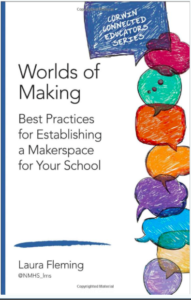
The ultimate guide to practical strategies and anecdotal examples to help you:
Create an action plan for your own personalized makerspace
Align activities to standards
Showcase student creations
It is our hope that makerspaces become as central to a classroom as a reading corner or a math manipulative shelf. Flexible thinking, problem solving, collaboration are all 21st century habits that a makerspace can provide for you and your students. Providing an environment where students can create and dream of new ideas is the best way to instill those skills.We hope your students "Get Caught Engineering" in your classroom makespace.
Wendy and Cheryl


